
Mobile Photography Techniques for Social Media Creators: Your Pocket-Sized Studio
Let’s be honest. Your phone is probably your most-used camera. And for social media creators, that’s not a compromise—it’s a superpower. The best camera is the one you have with you, right? But moving from casual snaps to scroll-stopping content requires a shift. It’s about technique, not just tech.
Here’s the deal: mastering mobile photography is less about expensive gear and more about training your eye and knowing your tool’s secrets. Let’s dive into the techniques that will transform your feed.
Foundations: Before You Even Tap the Shutter
Great mobile photos start with intention. Rushing leads to, well, rushed-looking content.
Clean That Lens & Mind Your Light
It sounds silly, but wipe your lens with a soft cloth. Fingerprints are the number one cause of hazy, dull photos. Next, become a light detective. The golden hours—just after sunrise and before sunset—provide soft, flattering, directional light. Harsh midday sun creates unflattering shadows. If you’re indoors, move towards windows. Natural light is your most powerful free tool.
Composition: Your Secret Weapon
Composition is simply how you arrange elements in your frame. It guides the viewer’s eye.
- The Rule of Thirds: Turn on the grid lines in your camera settings. Place your subject where the lines intersect. It creates balance and interest instantly.
- Leading Lines: Use paths, railings, or even shadows to draw the eye into the photo.
- Negative Space: Don’t fear empty areas. A clean, minimalist background makes your subject pop, especially for Instagram or product shots.
And sometimes, break the rules. Fill the entire frame with a texture. Shoot from a radically low angle. It’s about what feels right.
Advanced Mobile Camera Features You Should Actually Use
Your phone’s camera app is packed with features that go way beyond the basic shutter button. Honestly, most people ignore them.
Exposure & Focus Lock (AE/AF Lock)
Tap and hold on your screen on your subject. You’ll see a little sun icon or an AE/AF Lock indicator. This locks the focus and exposure on that spot. No more having the camera re-adjust and brighten the whole scene when you move. It’s crucial for consistent shots.
Portrait Mode & Manual Controls
Portrait mode simulates that beautiful blurred background (bokeh) from big cameras. Use it for food, faces, products—anything you want to isolate. For creators wanting more control, explore “Pro” or “Manual” mode. Here you can adjust:
| Setting | What It Does | Quick Tip |
| ISO | Controls light sensitivity. | Keep it as low as possible to avoid grain (noise). |
| Shutter Speed | How long the lens is open. | Fast freezes motion; slow creates light trails (use a tripod!). |
| White Balance | Adjusts color temperature. | Set it manually for consistent colors in a series of shots. |
Shooting for Different Platforms: One Size Doesn’t Fit All
A square Instagram post, a vertical TikTok, a horizontal YouTube thumbnail—they all have different demands. It’s a pain point, for sure. The solution? Shoot wider than you need. Step back. Give yourself room to crop for each platform’s ideal aspect ratio without losing image quality. Think of it as shooting your “master” shot.
For Instagram Reels and TikTok, vertical (9:16) is king. Capture dynamic movement. For Pinterest, think vertical and detailed. For YouTube thumbnails, you know, horizontal and high-contrast. Planning this ahead saves hours in editing.
Simple Editing: The Final Polish
Editing isn’t cheating. It’s where your photo finds its voice. But the goal is enhancement, not overhaul. Start with these steps in apps like Lightroom Mobile, VSCO, or even your phone’s native editor:
- Straighten & Crop: Align horizons and recompose using the Rule of Thirds grid.
- Adjust Exposure & Contrast: Brighten shadows slightly, maybe tame highlights. A little contrast adds punch.
- Color Balance: Warm up or cool down the tone. Increase saturation gently—oversaturation is the telltale sign of an amateur.
- Sharpening: A subtle bump can add clarity, especially for product details.
Create a preset or filter that matches your brand’s aesthetic. Consistency in editing makes your feed feel cohesive, like chapters in the same book.
Beyond the Phone: Minimal Gear That Makes a Maximal Difference
You don’t need much. But a few affordable items can solve common mobile photography problems.
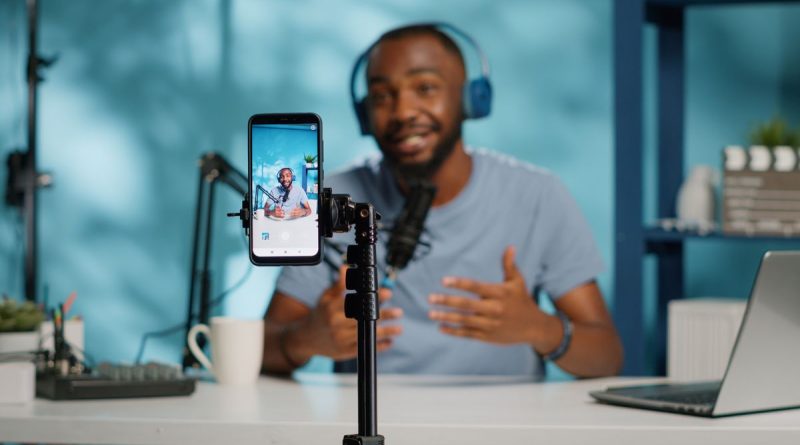
- A Tiny Tripod: This is non-negotiable. It eliminates shake for low-light shots, allows you to be in the frame, and enables long exposures. Get a flexible one.
- A Clip-On Lens: A macro lens for extreme close-ups of textures or a wide-angle for landscapes can dramatically expand your creative options.
- A Portable Light: A small, dimmable LED panel is a game-changer for indoor shoots, vlogging, or adding a catchlight to eyes. It beats harsh overhead room lights every time.
The Real Secret? It’s Not in the Settings
All this technical talk is important, but the core of compelling mobile photography for social media is storytelling. What are you trying to say? What feeling are you evoking? Is it the cozy warmth of a coffee cup, the frenetic energy of a street market, or the sleek simplicity of a new design?
Your phone is just a tool—a remarkably powerful one. The artistry comes from you. From noticing the way light falls across a table. From finding a new perspective on something ordinary. From having the patience to take twenty shots to get the one that feels… right.
So, go ahead. See the world through that lens in your pocket. Experiment wildly. Embrace the quirks. Because in the end, the most impactful technique is your unique point of view. And that can’t be downloaded from an app.